
Tinting · By Brock Timperley
How to Remove Window Tint (and Why You Should Not Do It Yourself)
Old window tint has a way of announcing itself. The glass goes purple instead of black, or a rash of little bubbles creeps in from the edges, or the whole thing turns hazy enough that reversing at night becomes a guessing game.
At that point most people do the same thing, which is to search for how to remove it themselves. That is fair enough, and we are not going to pretend it is impossible. Plenty of people have stripped their own tint with a heat gun and a Saturday afternoon.
Here is the honest version though. Tint removal is not technically difficult. Heat or steam softens the adhesive, the film is peeled back slowly in one piece, and the glue left behind is dissolved and cleaned off the glass. What makes it a bad DIY job is not skill, it is patience and the rear windscreen. The demister lines on the rear screen are printed onto the inside surface of the glass, sitting right where the film and the adhesive are. Rush that panel, or scrape it, and you take the demister with the tint. That is a repair most people cannot make.
Below is how removal is actually done, why old film degrades in the first place, and where the DIY attempts go wrong.
Why Old Tint Turns Purple, Bubbles or Goes Hazy
It helps to know what has failed, because it tells you what you are dealing with.
Purple fade is the classic sign of a low-grade dyed film. Dyed tint gets its colour from an organic dye layer, and that dye breaks down under constant UV exposure. As it degrades it stops holding black and shifts towards purple or brown. It is not dirt, and a clean will not fix it. The colour is gone from inside the film.
Bubbling is a separate failure, and it is the adhesive giving up. Over years of heat cycling, the glue between the film and the glass loses its grip in patches. Air works into those gaps and you get the bubbles and lifting edges you can feel with a fingernail. Hazing comes from the same ageing process, with the adhesive clouding and the film distorting.
Worth saying plainly: this is a film quality problem, not a tinting problem. Carbon and ceramic films do not use the organic dye that causes purple fade, which is why they hold their colour. If you want the detail on why one film ages badly and another does not, we have written it up in our guide to window tint film types. Our own window tinting carries a lifetime warranty on Global Window Films, so if film we fitted bubbles, peels, cracks or discolours, we replace it.
How Tint Removal Is Actually Done
The process itself is simple to describe and slow to execute.
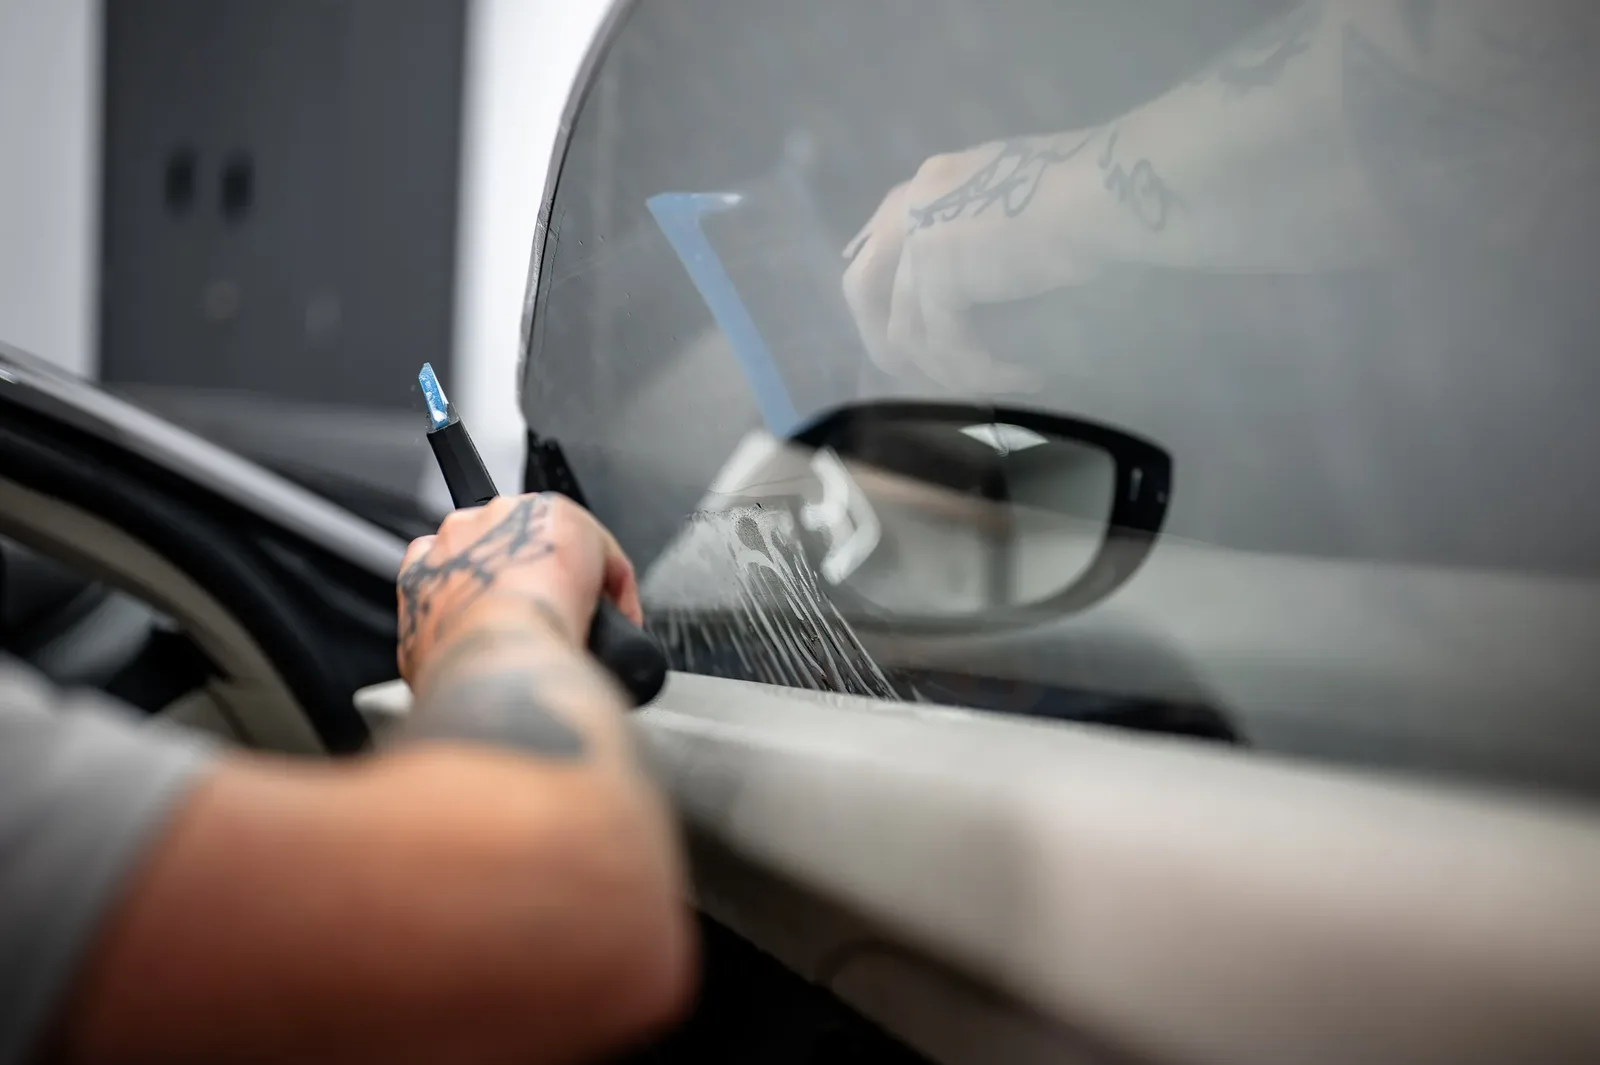
First comes heat. Steam is the kinder option, since it works the adhesive loose gently and evenly across the whole panel. A heat gun does the same job faster and less forgivingly, because it is easy to overheat one spot while the rest of the glass is still cold.
Then the peel. The aim is to lift a corner and pull the film back on itself at a shallow angle, keeping steady tension so the sheet comes away in one piece. Slow and continuous beats fast and jerky every time. When the film comes off whole, most of the adhesive comes with it.
Then the glue that stays behind, which gets softened and dissolved rather than attacked. On old side glass we blade the windows as part of our normal preparation, but that is done with the right technique on the right panel, not as a first resort on a rear screen.
Then the clean-up. The glass gets scrubbed, squeegeed and dried until there is no residue or haze left, because any contamination under a new film shows up later as a mark or a bubble. The preparation is most of the work.
What Goes Wrong on a DIY Removal
The failures we see are consistent, and none of them are about intelligence.
The film tears. Aged tint is brittle, so instead of one clean sheet you get a pile of postage-stamp fragments, each one picked off individually. A job that looked quick stops being quick.
The adhesive turns into a mess. When the film shreds, the glue stays on the glass in a gummy layer. People then reach for whatever solvent is in the shed, which is how door cards, window rubbers and interior trim end up marked. On a professional job the trims and door cards come out first and the panels get covered before anything wet goes near the glass.
The heat gets away on you. Held too long in one spot, a heat gun can mark surrounding trim and rubber, and on a frosty Christchurch morning putting concentrated heat onto cold glass is a risk nobody needs to take. Steam is slower and much harder to get wrong, which is why the trade uses it.
And the job takes far longer than anyone plans for. A tint removal on a full car is not an evening’s work when the film is fighting you. That is the point at which most DIY attempts get abandoned halfway, with two windows stripped, two still purple, and glue on the door cards.
The Rear Windscreen Is the Part to Worry About
Every one of those problems is survivable except this one, so it is worth its own section.
The demister on your rear windscreen is not wire running through the glass. It is a set of fine conductive lines printed onto the inside surface, which is exactly the surface the tint and its adhesive are stuck to. There is nothing protecting them.
That means anything you would instinctively reach for, a blade, a scraper, a scourer, or simply gripping the film and giving it a firm pull, can lift a demister line off with the tint. Break one line and that section of the screen stops clearing. It is not repairable in any practical sense, so the fix is a new rear screen, which is a much bigger job than having the tint taken off properly in the first place.
Rear screens also tend to hold the worst of the old film. They cop the most sun, so the adhesive there is usually the most degraded and the film the most brittle, which is precisely when peeling gets aggressive. The panel that punishes impatience the hardest is the panel most likely to provoke it.
Done properly, the rear screen is steamed patiently, peeled in one sheet along the direction of the lines, and cleaned with the demister treated as untouchable throughout. That is the whole trick, and it is mostly time.
| DIY removal | Professional removal | |
|---|---|---|
| Rear demister lines | At real risk | Protected, no scraping on the printed lines |
| Trims and door cards | Exposed to solvents | Removed or covered first |
| Adhesive residue | Often left behind | Fully cleaned back to bare glass |
| Time it takes | Far longer than planned | Part of a normal workshop job |
| Glass ready to re-tint | Rarely | Yes, prepared as part of the process |
If it is one front side window and the film is still in good condition, a careful DIY attempt is survivable. If it is a rear windscreen, or the film is old and brittle, or you intend to re-tint afterwards, it is not worth the gamble.
When Removing Your Tint Makes Sense
Not every tinted car needs stripping, so here is when it genuinely stacks up.
When the film has failed cosmetically. Purple, bubbled or hazy tint makes an otherwise tidy car look neglected, and it is not going to improve on its own.
When visibility has suffered. Distortion and haze are worst at night and in the rain, which is exactly when you need the rear screen to be clear.
When the shade is not legal. If you have bought a car wearing tint darker than the rules allow, that is a Warrant of Fitness problem, and our guide to window tint shades and VLT limits in NZ sets out where the lines sit.
When you want better performance. Old dyed film blocks light without doing much about heat. A modern film blocks up to 99% of UV and cuts solar heat gain by up to 60%, which is a genuinely different experience on a hot Canterbury day.
In almost every one of those cases you are not really shopping for removal. You are shopping for better tint, and removal is step one. Doing both in the same visit means the new film goes onto properly prepared glass, which is the only way a tint job lasts. We have tinted more than 500 vehicles in Christchurch since 2012, and a fair share of those started with somebody else’s failed film coming off first.
You can see the film range, shades and pricing on our window tinting page. If you are not sure whether your old tint will come off easily or fight the whole way, send us a photo of it and we will tell you honestly what you are in for. Get a free, no-obligation quote here.
Frequently Asked Questions
Can window tint be removed without damaging the glass?
Yes, window tint can be professionally removed without damaging your glass. The film is softened with heat or steam so the adhesive releases, then peeled back slowly and the remaining glue is dissolved off. The risk is not really the glass itself, it is the demister lines printed on the inside of the rear windscreen, which is why the rear screen is the panel worth leaving to a professional.
Why has my window tint turned purple?
Purple fade happens with low-grade dyed film. The organic dye that gives the film its colour breaks down under constant UV exposure, and as it degrades it shifts from black to purple or brown. Once that has happened there is no way to restore it. The film has to come off and be replaced.
How much does it cost to remove and re-tint my car?
Removal depends on the condition of the old film, so the honest answer is that it needs a look at your actual car before we can price it. The tint itself is straightforward: our window tinting starts at $350 for a ute, $400 for a sedan, hatch, wagon, or SUV, and $450 for a van or commercial vehicle, and every price includes premium Global Window Films, labour, and a lifetime warranty. Send us a photo of the old tint and we will give you a full figure.